Beanstalk: Import a Beanstalk Environment
This tutorial provides a step-by-step guide to importing existing Beanstalk environments into Elastigroup.
Prerequisites
- An active Spot account. Don't have an account yet? Sign up here.
- A live Beanstalk environment in the AWS account connected to Spot.
- An up-to-date Spot IAM policy.
- Make sure to modify the beanstalk IAM role (aws-elasticbeanstalk-ec2-role) to be able to invoke CFN helper scripts.
Step 1: Open the Creation Wizard
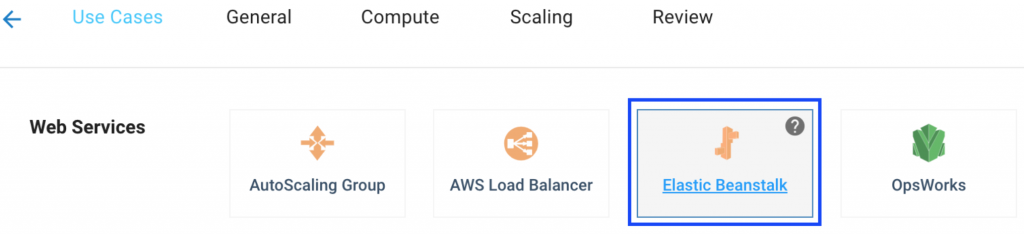
Under Elastigroups select Create to open the Creation Wizard. Select Elastic Beanstalk to open the import modal. Select the Region and Environment to import and click Next.
Step 2: Verify Configurations
The Creation Wizard imports the existing Beanstalk environment configurations. By default, the Elastigroup name is the Beanstalk environment ID, however, it's recommended to use the existing Beanstalk environment name. The Elastigroup name can be configured in the General tab.
In the Compute tab under Integrations, Beanstalk is preselected and includes the rolling update settings. The Beanstalk integration settings include:
- Strategy: Either perform a restart to the existing EC2 instances or replace them with new ones.
- Grace Period: The amount of time in seconds from the instance launched until Elastigroup starts checking its health.
- Batch Size: The percentage of instances that are handled in each batch.
Elastigroup is now managing and provisioning Spot instances for the Beanstalk environment. Once the Elastigroup is created, the instances running can be seen in the Elastigroup Management View which opens after the Creation Wizard is completed.
If you're using the Independent Elastigroup Integration mode, you can downscale the original Autoscaling group manually at this point.