Get to Know the Workflow Builder
In the workflow interface you can drag, drop, and connect nodes on the canvas to create a workflow.
-
In the left menu, click Connect and then Workflows.
-
Click New Workflow. You can see all the workflows created by users within the Spot organization.
-
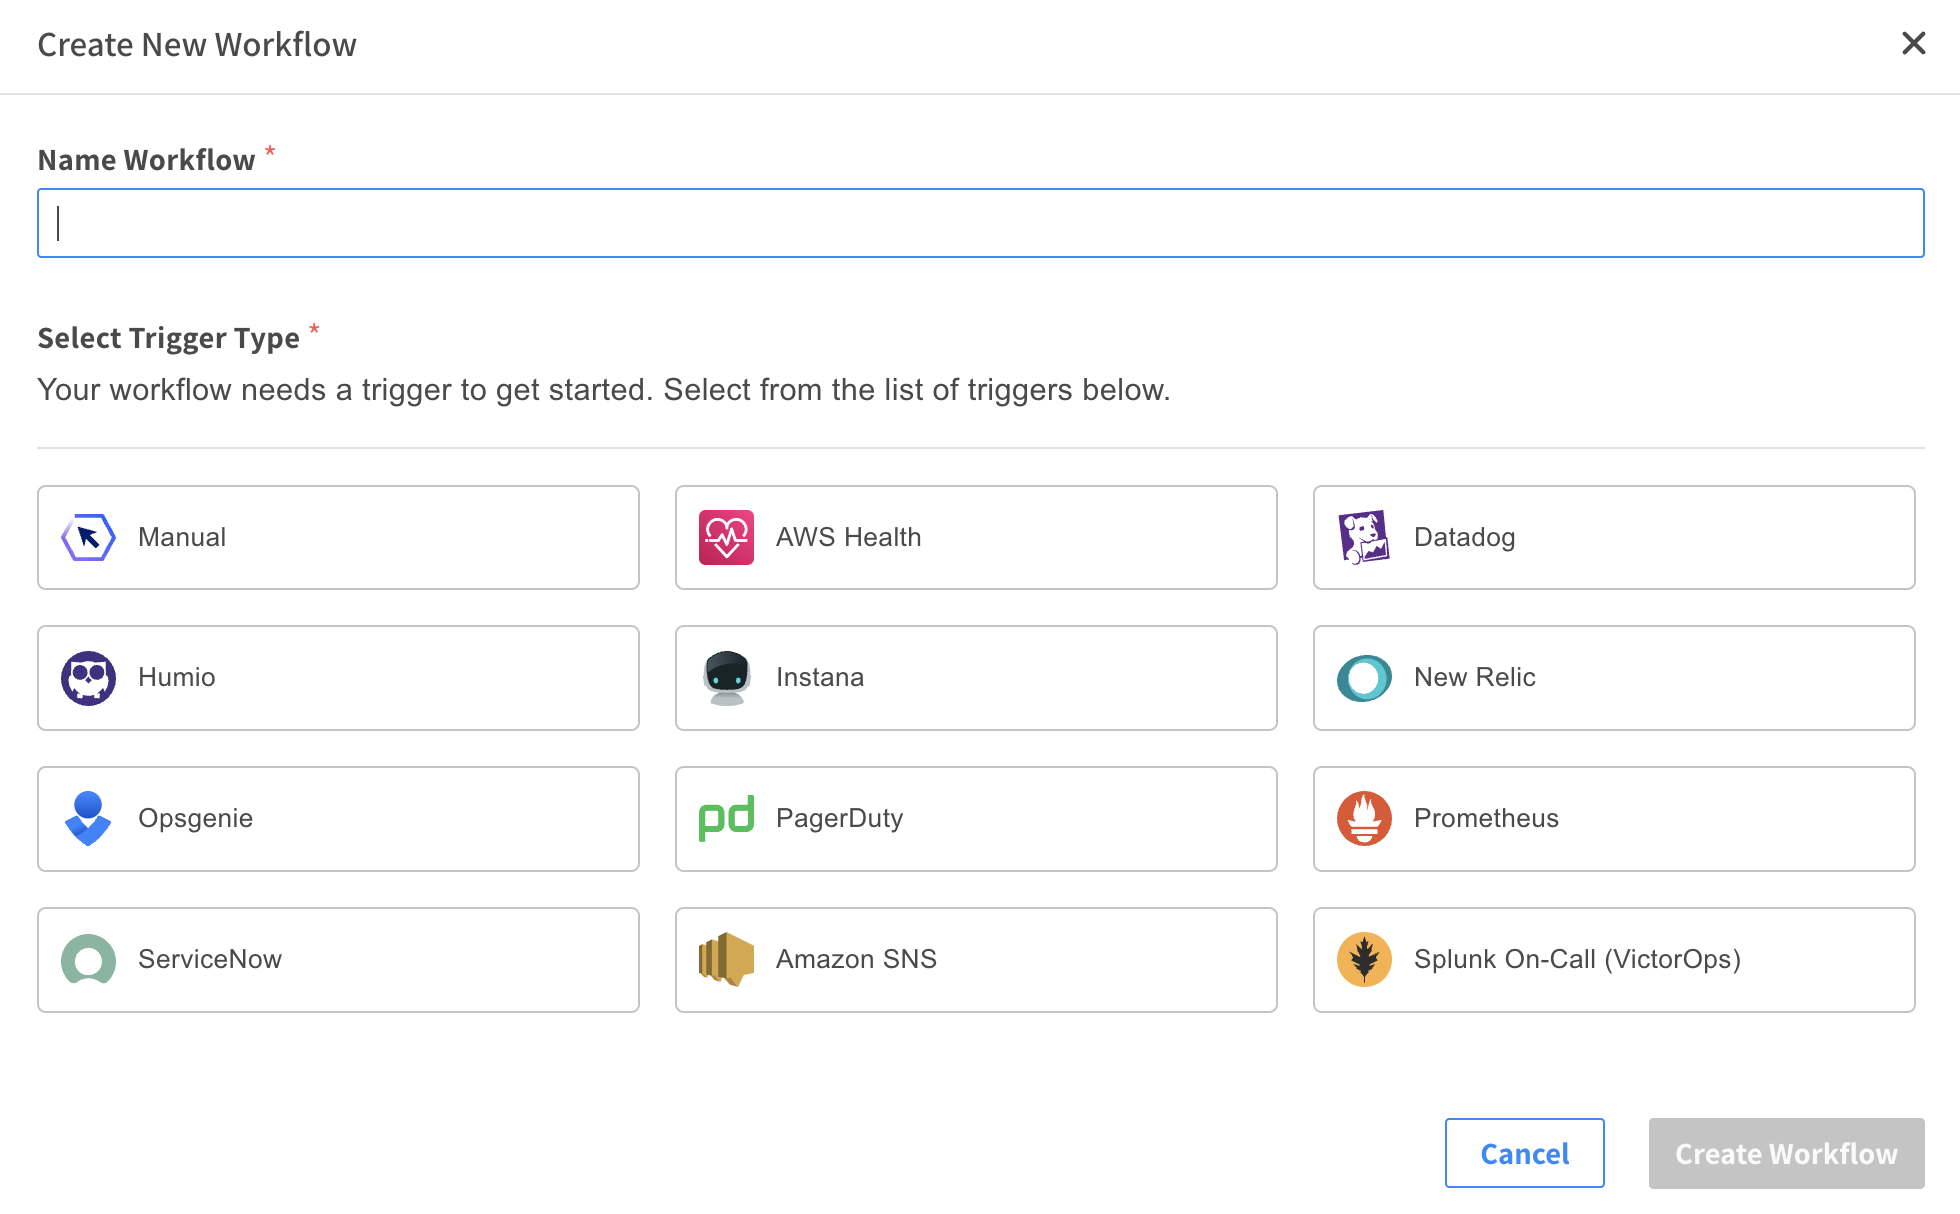
In the Workflow Name field, enter a workflow name. Workflow names cannot start with
aws,amazon, oramz. -
Select the trigger type.
- You can select the trigger type once the integration is configured and authorized on the Settings page.
- Generic Webhook can be used for any third-party application that supports webhook as a notification.
-
Click Create Workflow.
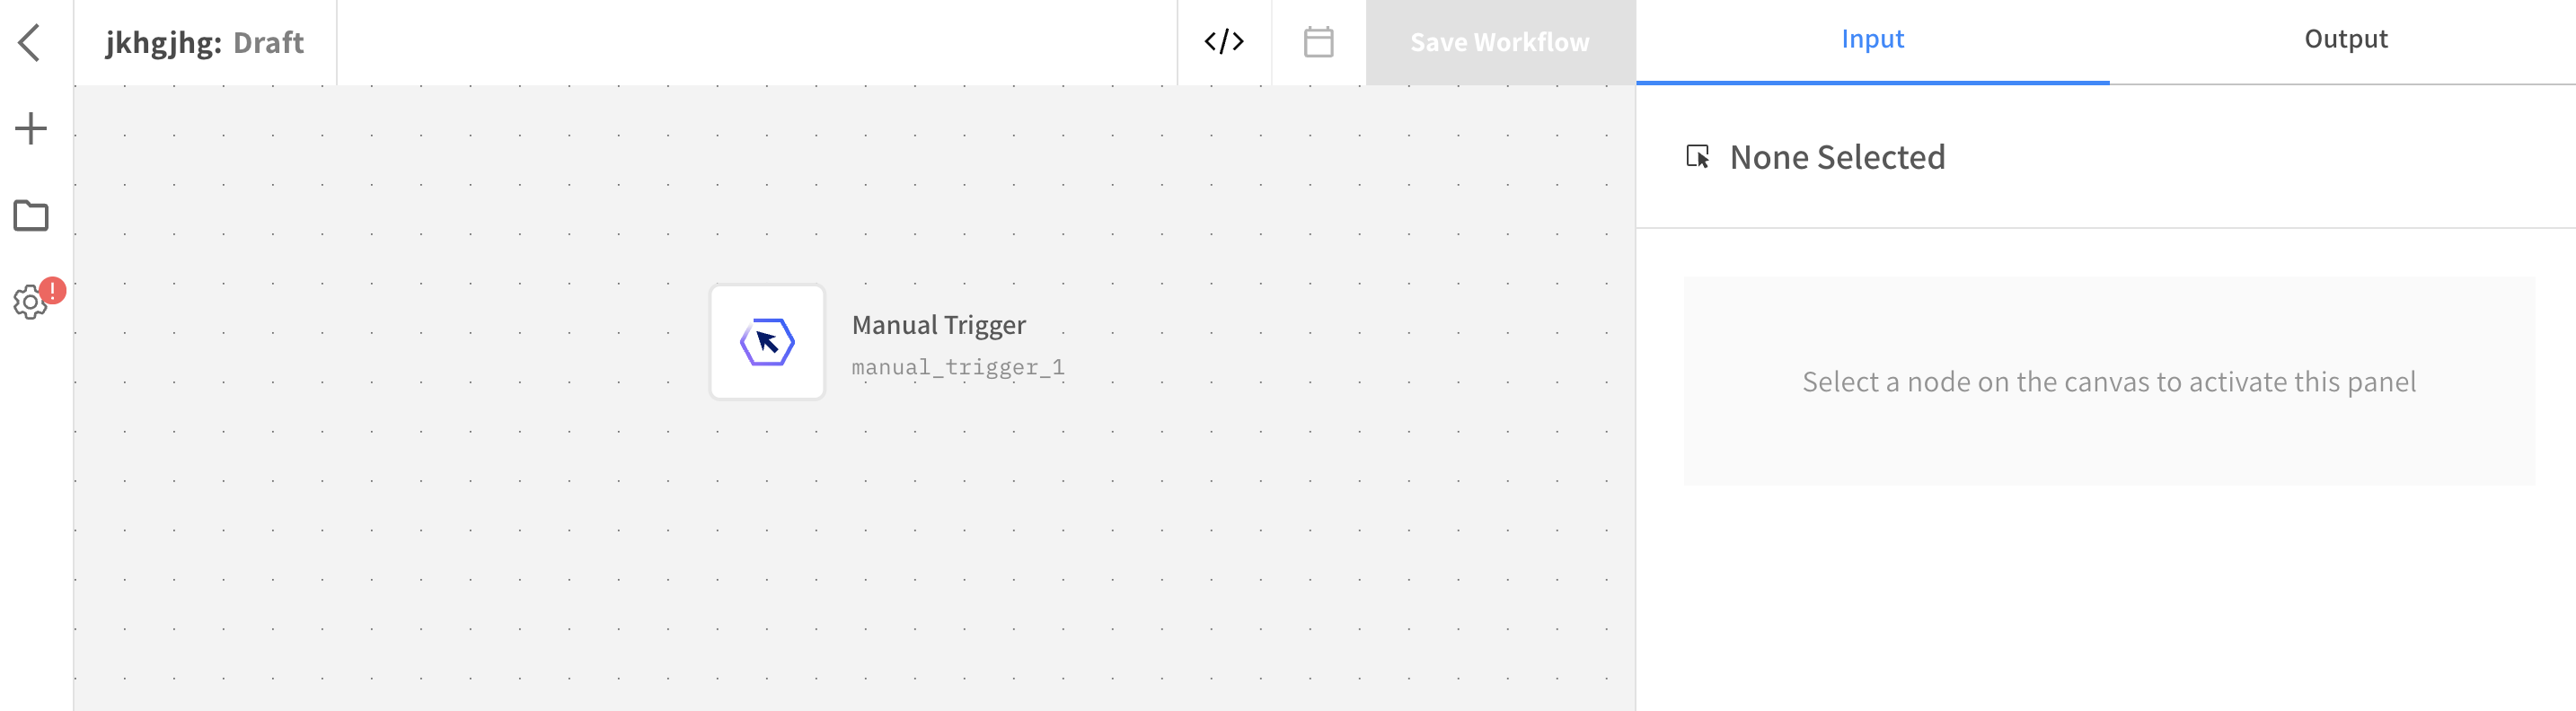
The interface has these panels for creating your workflow:
-
Left Panel – A library of integration actions. Click the + icon in the top left to open and close the library.
-
Center Panel - A canvas where you can drag and drop action nodes to connect them and create a workflow.
-
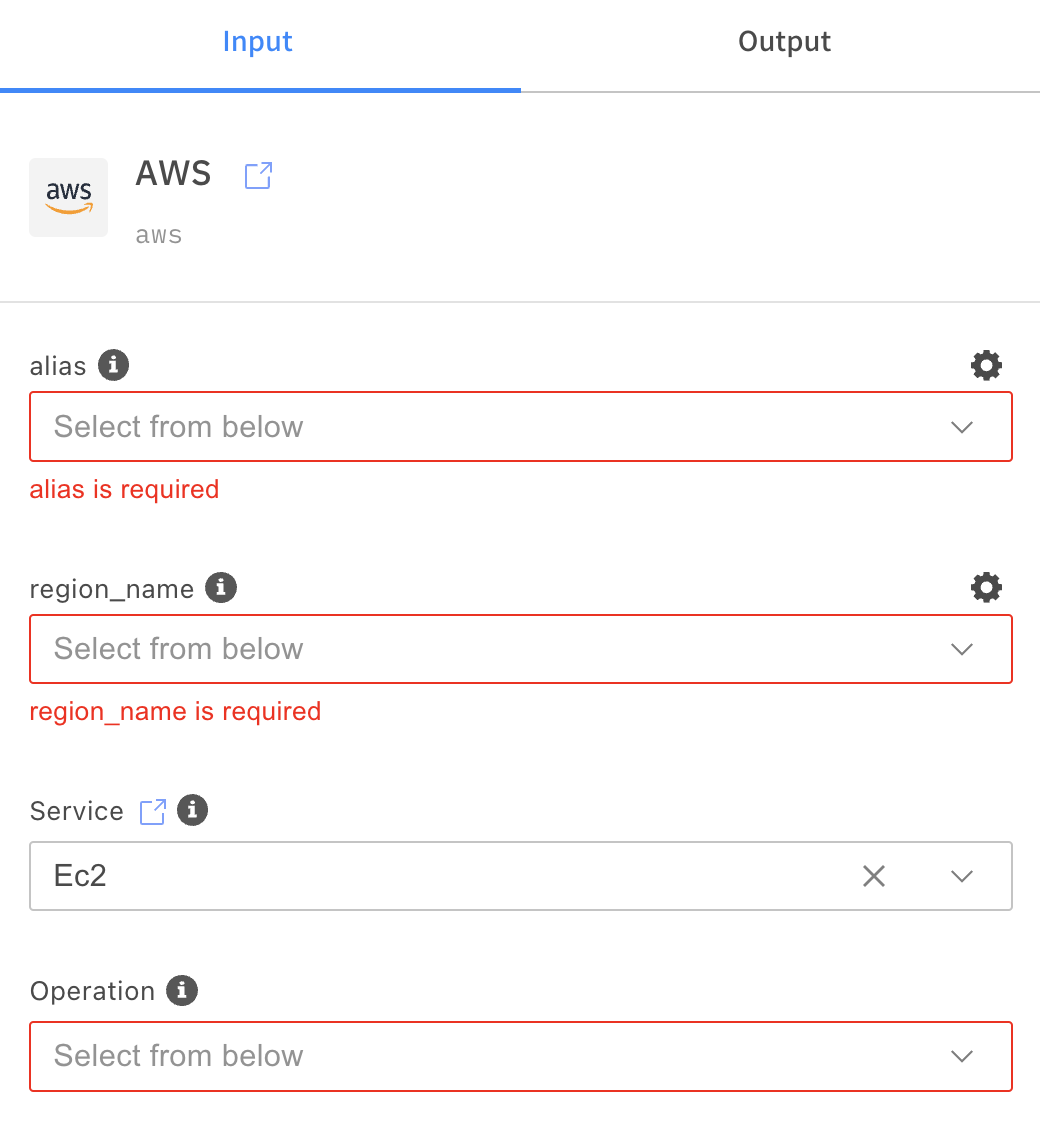
Right Panel – An action configuration panel where you select the integration instance, account, and operation, enter the input parameters, and explore the output of your chosen action.
-
Workflows in Action
These methods are supported to run workflows in Spot Connect:
- Manually run a workflow: from the Workflow Builder page.
- Schedule a workflow on a specific interval: from the Workflow Builder page.
- Automatically execute a workflow using a webhook.
- Workflows can be triggered automatically from any third-party application that supports webhooks.
- Select the Trigger Type when a new workflow is created.
The trigger types shown provide the default JSON schema body in the output of the trigger node. However, the generic webhook trigger can be selected for any third-party application. There are no restrictions.
Keep in mind, workflows can be up to 64 KB.
More about workflow size
The content in a workflow is saved as a JSON. Workflows can be up to 64 KB, which can be around 70 steps. The number of steps depends on the types of nodes included.
Once you reach the 64 KB file size, you won’t be able to save the workflow. Try to simplify your workflow using loops, or dividing it into multiple workflows. For example, you can divide your workflow into sections (logical units) and have them send results to your server using HTTP send request. You can then trigger the next workflow using a generic webhook trigger.
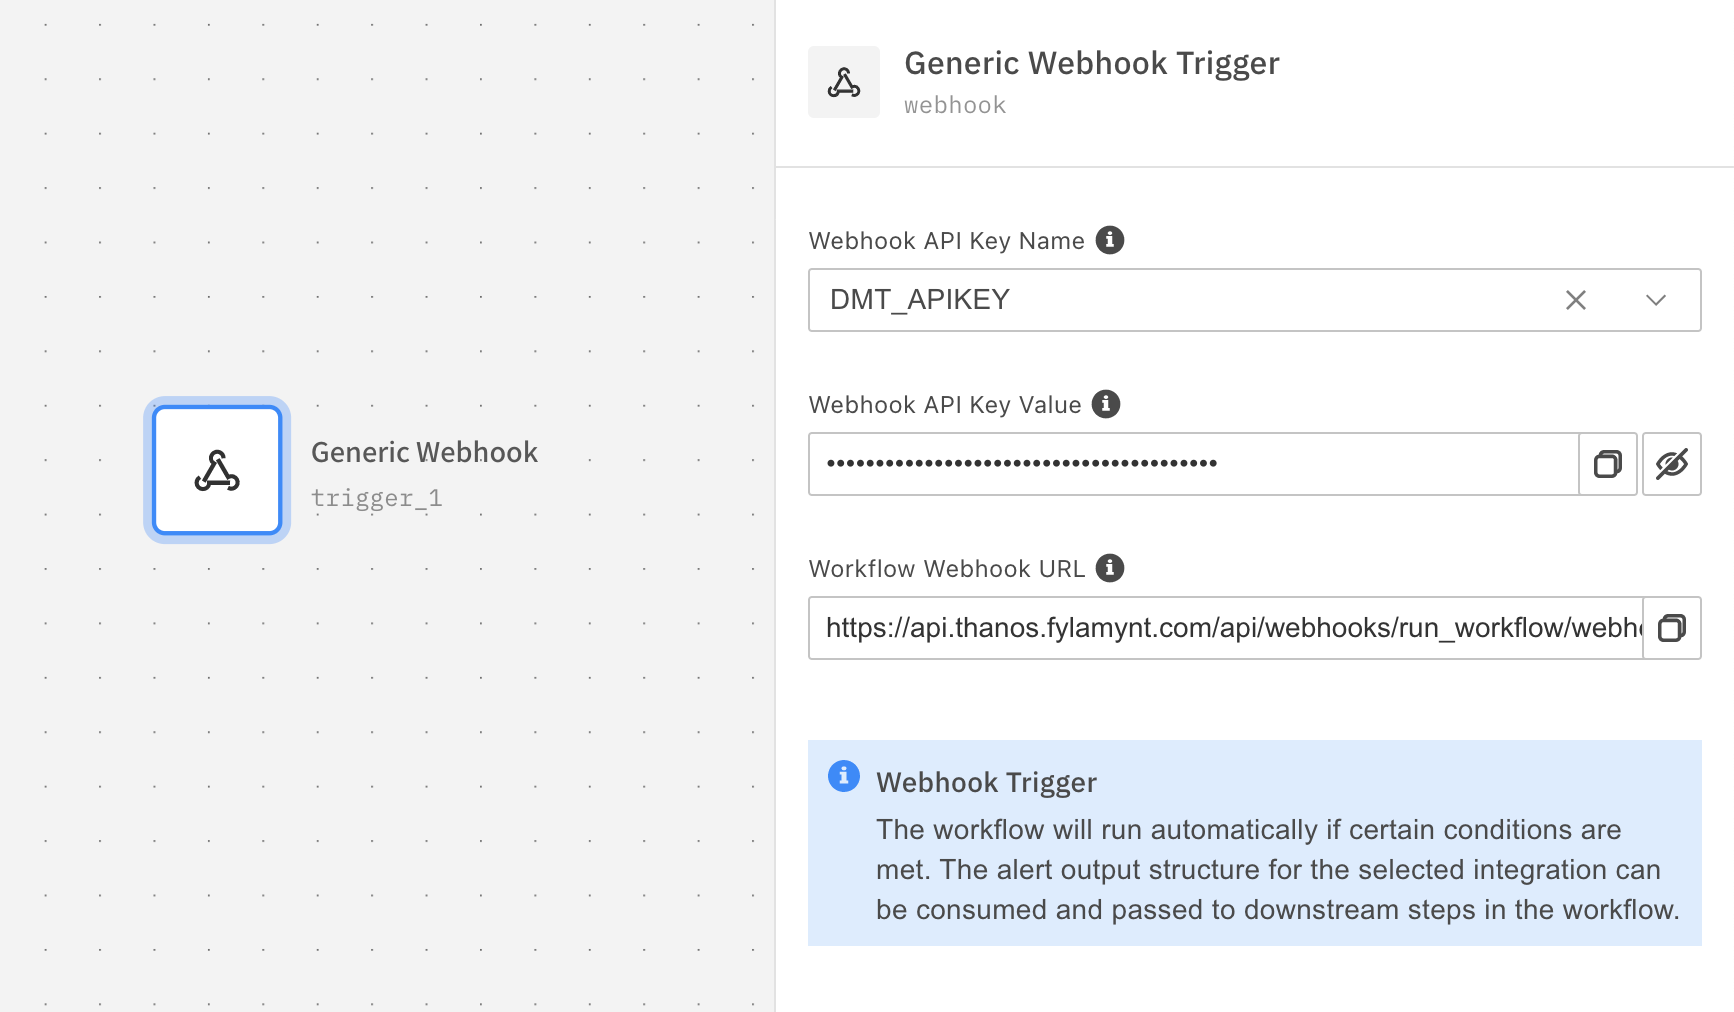
Webhook Trigger
After creating the workflow, click the trigger node to select the API key.
Click Settings and then Resources to create the API Key.
Once the key is selected, the API key and Webhook URL can be copied.
Webhook URL requires an API key to authenticate. For instance, the API key can be added as a query parameter or be embedded in the URL for usage with AWS SNS Topics.
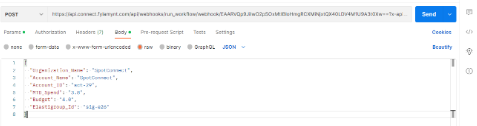
Postman can be used to quickly test the execution of the workflow with example data provided in the body.