Create a New Stateful Node
This procedure describes how to create a new stateful node from scratch.
Prerequisites
Before you can create a stateful node, you need to complete the following:
- Ensure your AWS account is connected to your Spot account.
- Ensure your Spot Policy is up to date.
- Memory utilization graphs require the Cloudwatch agent. For more information, see the AWS documentation.
Get Started
-
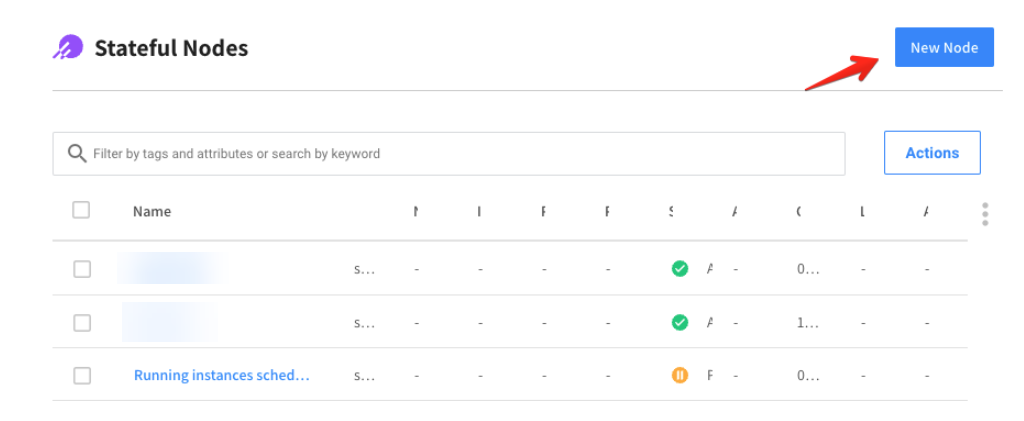
To create a new Stateful Node from scratch, click on the left menu.
-
Click Elastigroup > Stateful Nodes > New Node.
-
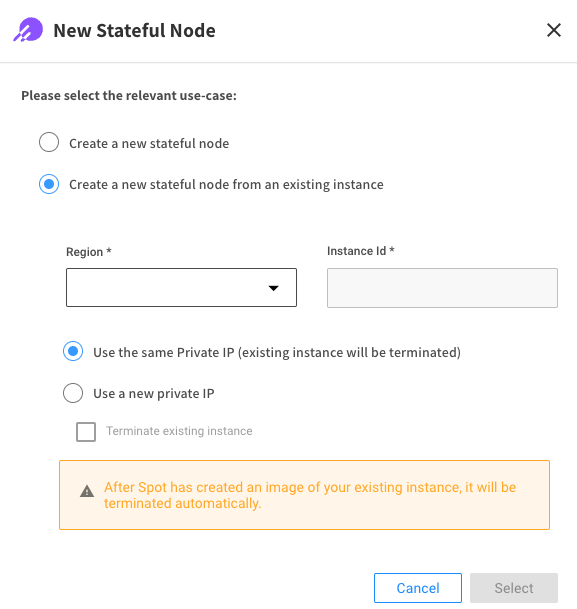
Mark the use-case Create a New Stateful Node and click Select.
-
Complete the steps in the Create Stateful Node wizard as described below.
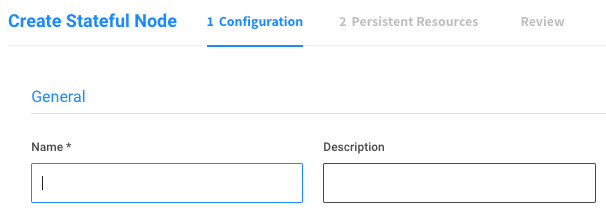
Step 1: Configuration Tab
-
Enter a name and a description for your Stateful Node.
-
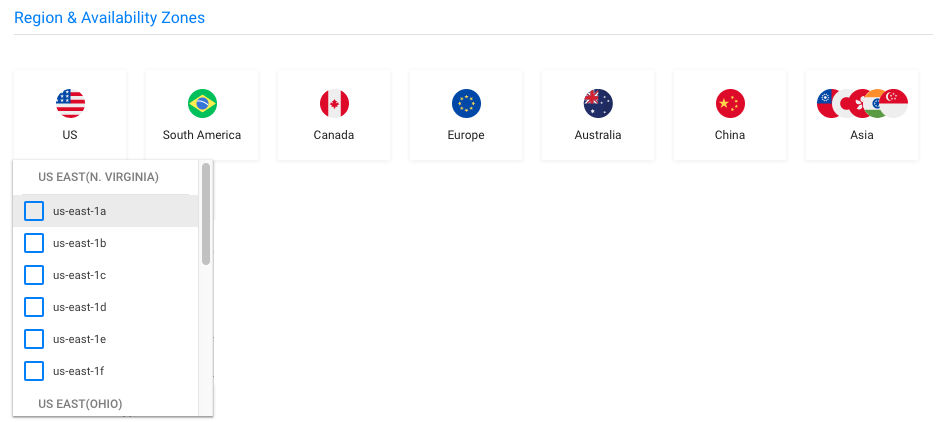
Select the region and availability zones.
-
Fill out the Node settings section.
-
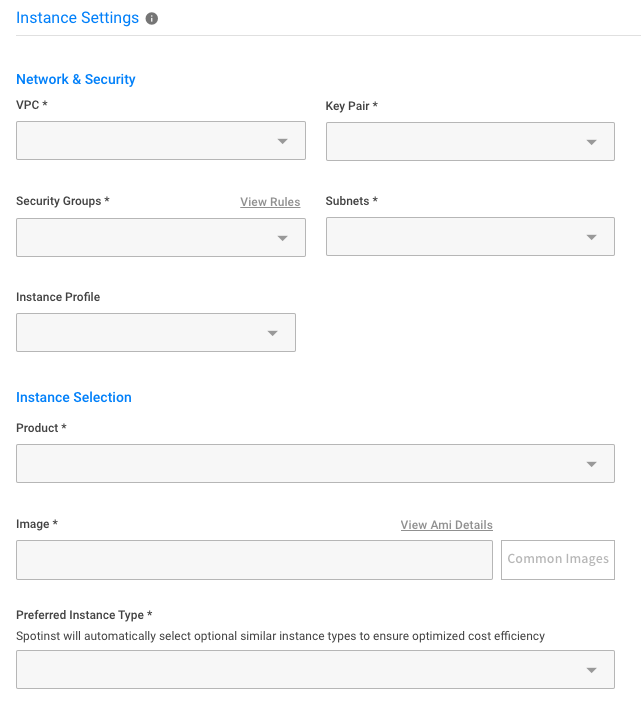
Configure Network and Security settings such as VPC, Key Pair, Security Groups, Subnets and Node Profile.
-
Choose the Product type and the AMI used to launch the node. You can specify your own AMI, or select one of the images suggested in the common images menu.
-
Select a Preferred Node type. The selected node type will be the preferred type for Spot nodes, and will also be used as an On-Demand type to fall back to in case no suitable Spot capacity is available.
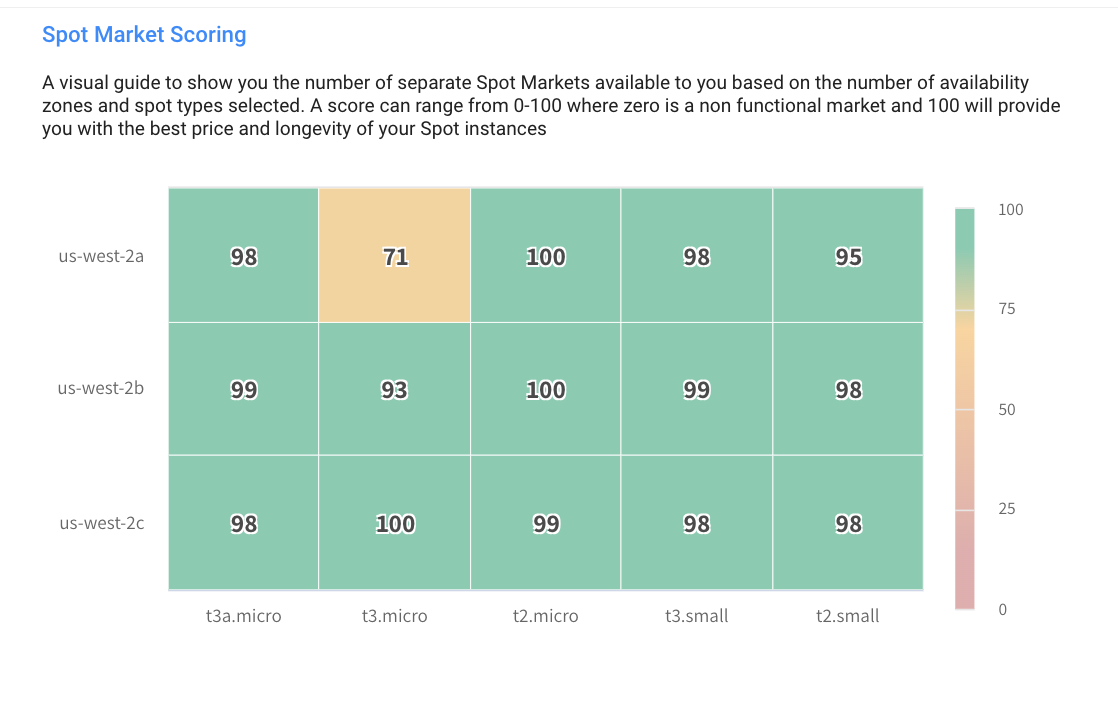
Once VPC, Subnets, Product, Image and Preferred Node type are selected, Spot will automatically preselect optional similar Spot Markets to ensure optimized cost efficiency. The Spot Market Scoring Table on the right side will be populated:
-
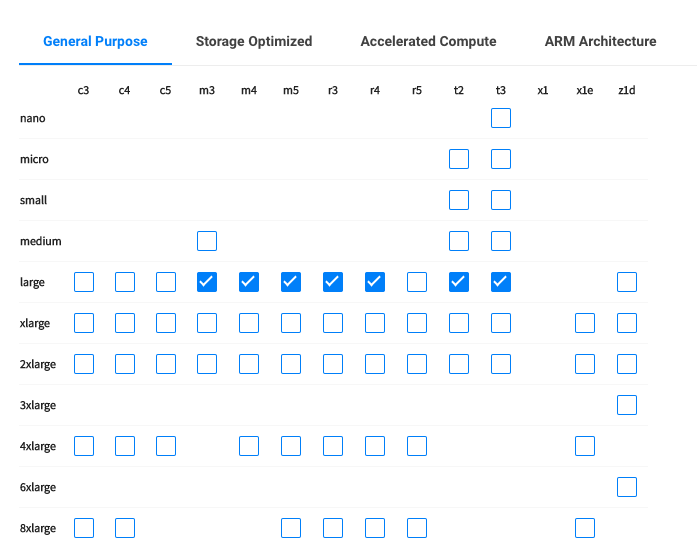
You can edit the additional Spot Market selection via the Spot Node Types table below. The more node types are selected here, the higher the chance of finding the optimal spot node to launch in terms of cost and availability.
-
Enter any User Data or Shutdown Scripts you would like to run upon node launch or termination.
-
Shutdown Script requires an Agent to be installed via the User Data. Clicking on the
Add Agent installation to User Datalink will automatically add the required bash script to the User Data section.
-
Add any custom Node Tags by typing in the Key and Value and click
Add: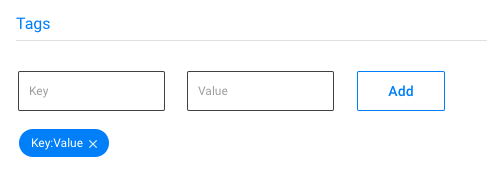
-
Enter any additional settings such as detailed monitoring for Amazon CloudWatch, EBS optimization, Burstable CPU for T2 or 3 nodes, IPv6 assignment and Public IP assignment.

-
Click on Next to proceed to the Persistent Resources Tab.
Step 2: Persistent Resources Tab
On this tab you choose which resources your Stateful Node will persist.
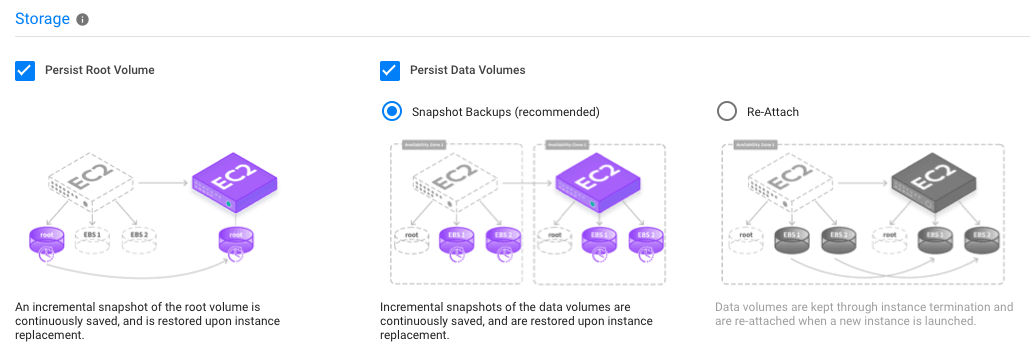
Select Storage Persistence Options
The creation of a Stateful Node requires at least one of the following persistence options to be selected: Root, Data, or Private IP.
- Root Volume Persistence is preselected by default, but can be toggled.
- Choose Data Volume Persistence options. Data Volume Persistence comes in one of two methods:
- Snapshots Backups: Incremental snapshots of the data volumes are continuously saved, and are restored upon node replacement.
- Re-Attach: Data volumes are kept through node termination and are re-attached when a new node is launched.
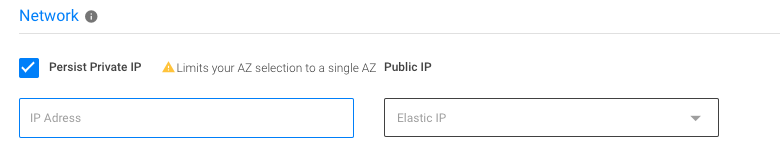
Proceed to Network Options
Private IP can be persisted by maintaining the Node's ENI across replacements. Optionally, specify a particular private IP to maintain.
Persisting Private IP will limit the Stateful Node to a single availability zone.
Public IP can be persisted by selecting an Elastic IP.
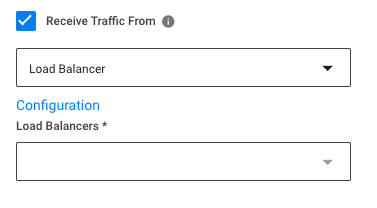
Configure Load Balancing
-
You can set the Stateful Node to receive traffic from Route 53 or a Load Balancer.
-
For Load Balancers, select your Elastic Load Balancer or ALB Target Group:
-
For Route 53 select your Hosted Zone, Record Sets and Public IP registration, then click
Add a Record.
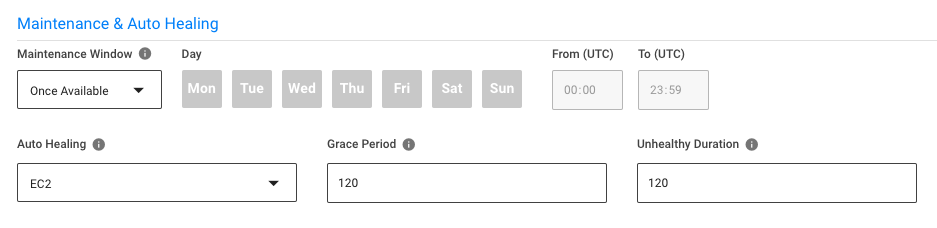
Configure Maintenance and Auto Healing
- The Maintenance Window will determine when a Stateful Node may perform proactive replacements, meant to adjust the node type to your preference, or to revert back to Spot in case a fall-back to On-Demand was made.
- Auto Healing will perform replacements of nodes deemed unhealthy according to the selected health check type.
- Grace Period is the time (in seconds) to allow a node to fully boot and applications to start before the first health check.
- Unhealthy Duration is the amount of time (in seconds) that a node deemed unhealthy will be kept before it is terminated and replaced with a new one.
Configure Scheduled Actions
-
You can choose one of two options – predetermined Running hours, or custom scheduled actions.
-
With the
Run node only during these hoursoption, once you configure the time window the stateful node will bePausedoutside of it. At the beginning of the next window, it will be automaticallyResumedalong with its persisted resources.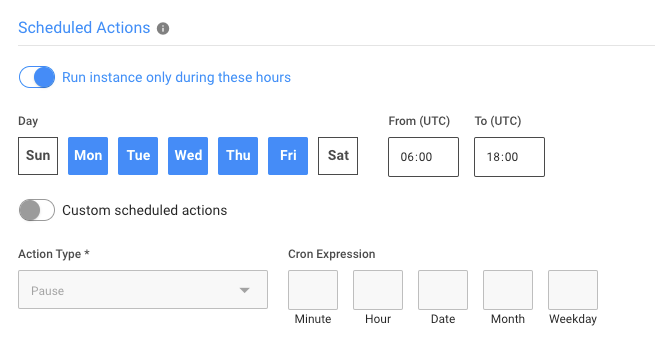
-
-
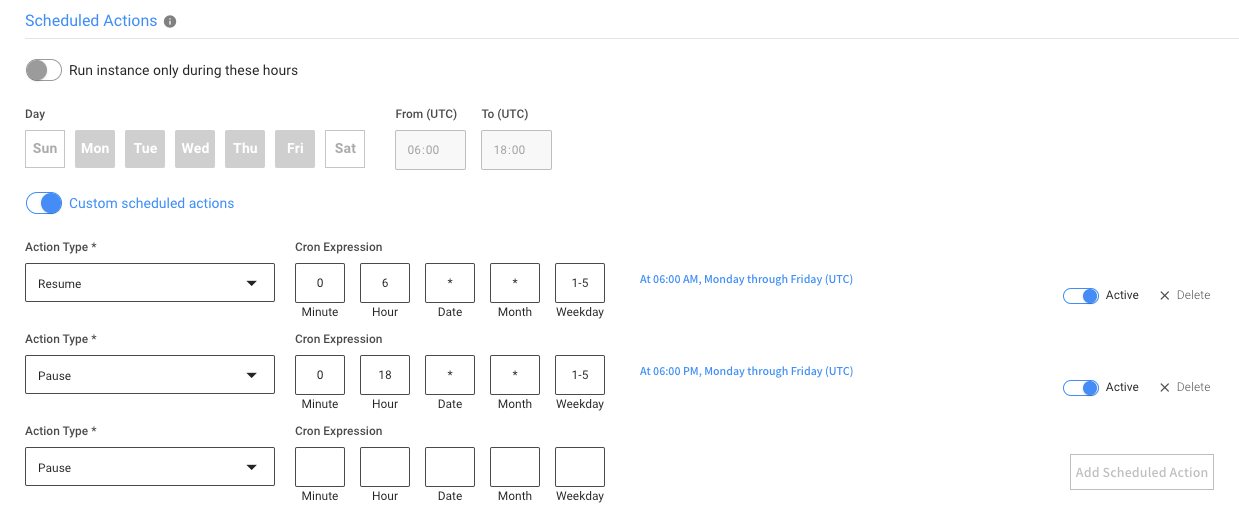
Alternatively you can schedule individual actions, with custom CRON expressions. The following actions are supported:
-
Pause
-
Resume
-
Recycle
-
Click Next.
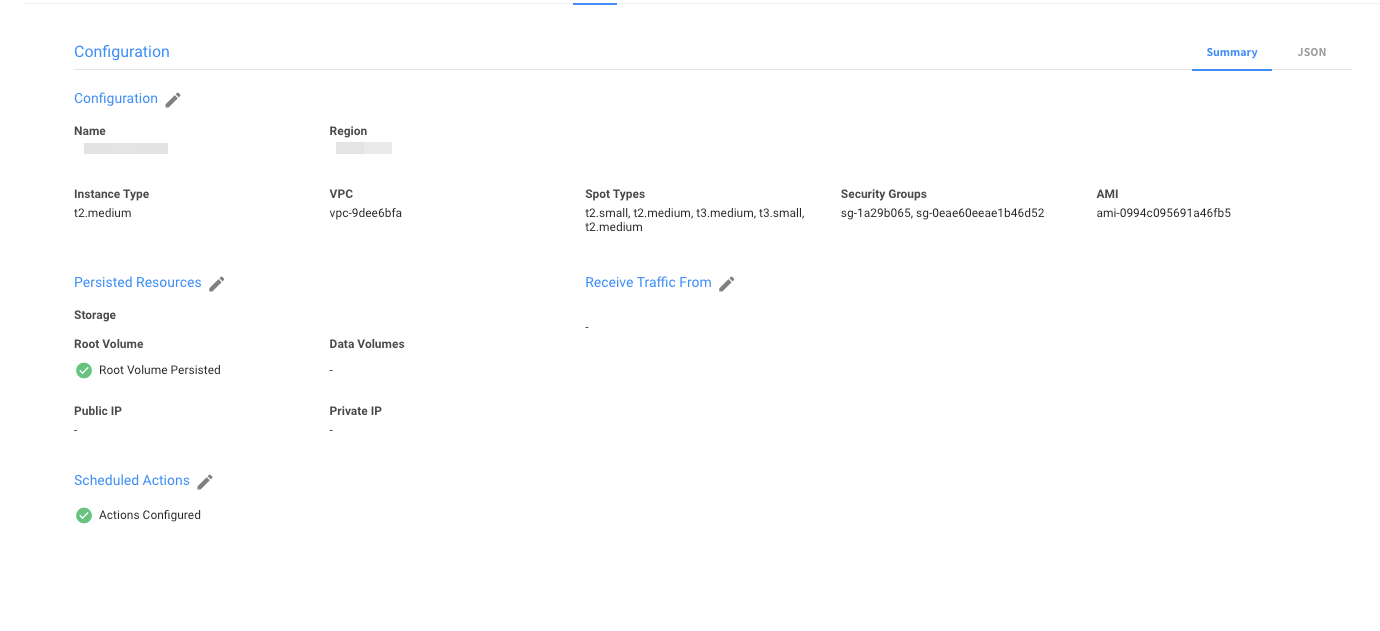
Step 3: Review Tab
The review tab provides a quick summary of your configuration.
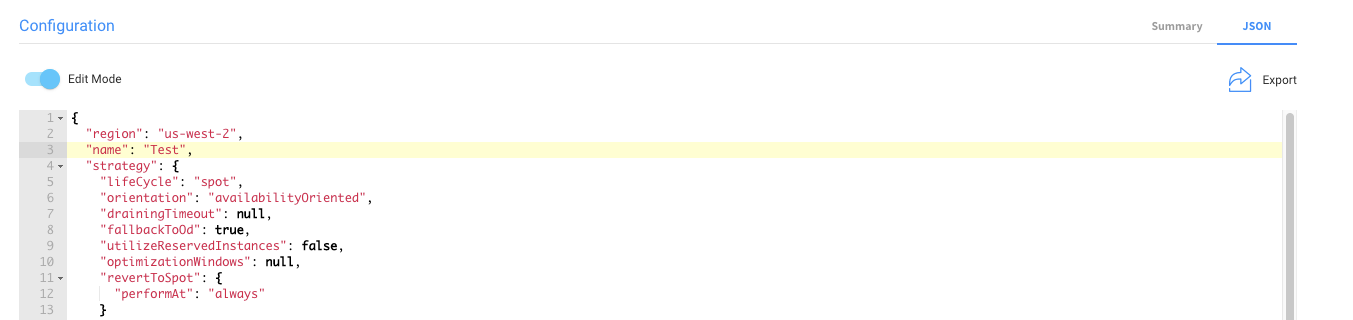
In addition, you can view the full JSON file, and turn on Edit mode to edit it manually.
When you are finished, click Create, and the new Stateful Node will launch.