Run Apps from Airflow
This page describes how to configure Airflow to trigger Spark applications on Ocean for Apache Spark (also referred to as Ocean Spark). Our Airflow plugin is compatible with Airflow 1 and Airflow 2.
Assumption: You already have access to a running Airflow environment. You could deploy and manage Airflow yourself, or use a managed service like AWS MWAA (see the tutorial on the Spot blog page.) or Astronomer. If you don't have access to Airflow, we show you how to set up an Airflow sandbox with Docker. If you don't need this, you can skip this optional section below. Optional: Spin up an Airflow sandbox with Docker Run a local Airflow server with Airflow 2 or 1.
Airflow 2
mkdir -p dags/
docker run -d -p 8080:8080 -e FERNET_KEY=`openssl rand -base64 32` \
   --mount type=bind,source="$(pwd)"/dags/,target=/opt/airflow/dags/ \
   --name test-airflow apache/airflow:2.2.3-python3.7 webserver
Airflow 1
mkdir -p dags/
docker run -d -p 8080:8080 -e FERNET_KEY=`openssl rand -base64 32` \
   --mount type=bind,source="$(pwd)"/dags/,target=/usr/local/airflow/dags/ \
   --name test-airflow puckel/docker-airflow:1.10.9 webserver
The Airflow UI is now available at http://localhost:8080/. Connect to the container with the following command:
docker exec -ti test-airflow /bin/bash
When you are finished with the tutorial, kill the docker image with this command:
docker kill test-airflow
Install the Ocean Spark Airflow Provider
Docker Sandbox
If you use the Docker sandbox, run all the commands in this section from within the Docker container. Connect to it with the following command:
docker exec -ti test-airflow /bin/bash
Install the Ocean Spark Airflow Provider using pip:
pip install ocean-spark-airflow-provider
Configure a connection to Ocean Spark in Airflow:
Airflow 2
Run the following commands to use the built-in SQLite database. (Please do not use this for production environments).
cd $AIRFLOW_HOME

airflow db init

airflow scheduler -D

airflow users  create --role Admin \
 --username admin \
 --email admin \
 --firstname admin \
 --lastname admin \
--password admin
Run the following command to create the connection:
airflow connections add --conn-type ocean-spark-airflow-provider \
   --conn-host <your ocean spark cluster id> \
   –conn-login <your ocean spark account id> \
   --conn-password <your Spot API token> ocean_spark_default
Use the username admin and password admin when you bring up the Airflow UI at http://localhost:8080/.
Airflow 1
cd $AIRFLOW_HOME
airflow connections -a --conn_id ocean_spark_default \
   --conn_type ocean-spark-airflow-provider \
   --conn_host <your ocean spark cluster id> \
   –conn_login <your ocean spark account id> \
   --conn_password <your Spot API token>
Your Ocean Spark cluster ID is visible in the Clusters list in the Spot console (format osc-xxxxxxxx). See How to create an API token.
Airflow UI
The Airflow UI is available at http://localhost:8080/.
Airflow 2
You can also configure the connection using the Airflow UI.
- Go to Admin -> Connections -> Add a new record (+ sign).
- Select "Ocean For Apache Spark" in the Connection Type dropdown.

-
Enter the following details in the connection window, and then click Save.
- Connection ID: Use ocean_spark_default by default. You may use a different name.
- Connection Type: Select "Ocean For Apache Spark" from the dropdown
- Description: Enter any optional text to describe the connection.
- Cluster ID: The ID of your Ocean Spark cluster (format osc-xxxxxxxx)
- Account ID: The Spot Account ID the cluster belongs to, which corresponds to a cloud provider account.
- API token: Your Spot API token (see How to create an API token)
-
If you do not see Ocean for Apache Spark in the connection types, restart the Airflow web server using the following command:
docker restart test-airflow
Airflow 1
The Ocean for Apache Spark connection type is not available for Airflow 1. Instead, create an HTTP connection and add your cluster ID as Host, account ID as Login, and your API token as password.

Create an Example DAG
The example file below defines an Airflow DAG with a single task that runs the canonical Spark Pi on Ocean for Apache Spark.
from airflow import DAG, utils

from airflow import __version__ as airflow_version
if airflow_version.startswith("1."):
    # Airflow 1, import as plugin
    from airflow.operators.ocean_spark import OceanSparkOperator
else:
    # Airflow 2
    from ocean_spark.operators import OceanSparkOperator

args = {
    "owner": "airflow",
    "email": [],  # ["airflow@example.com"],
    "depends_on_past": False,
    "start_date": utils.dates.days_ago(0, second=1),
}

dag = DAG(dag_id="single-task", default_args=args, schedule_interval=None)

spark_pi_task = OceanSparkOperator(
    task_id="spark-pi",
    dag=dag,
    config_overrides={
        "type": "Scala",
        "sparkVersion": "3.2.0",
        "image": "gcr.io/ocean-spark/spark:platform-3.2-latest",
        "imagePullPolicy": "IfNotPresent",
        "mainClass": "org.apache.spark.examples.SparkPi",
        "mainApplicationFile": "local:///opt/spark/examples/jars/examples.jar",
        "arguments": ["1000"],
        "driver": {
            "cores": 1,
        },
        "executor": {
            "cores": 1,
        },
    },
)
Since the OceanSparkOperator is a thin wrapper around the Ocean Spark API, its arguments should be familiar if you have already submitted an app through the API. Please see the API reference for Ocean Spark.
If you omit the job_id argument, the Airflow argument task_id will be used as the Ocean Spark job ID. More complex examples are available in the Ocean for Apache Spark Airflow plugin repository.
Copy the file to your Airflow DAGs storage location, usually $AIRFLOW_HOME/dags.
Docker Sandbox
If you use the Docker sandbox, copy the file into the local folder dags/. This folder is mounted into the container's $AIRFLOW_HOME/dags/ path, and the file will then be available to Airflow.
Depending on your configuration, you may need to restart the Airflow webserver for the DAG to appear in the DAG list.
docker restart test-airflow
Run the DAG
Connect to your Airflow webserver (http://localhost:8080/ on the Docker sandbox).
Airflow 2
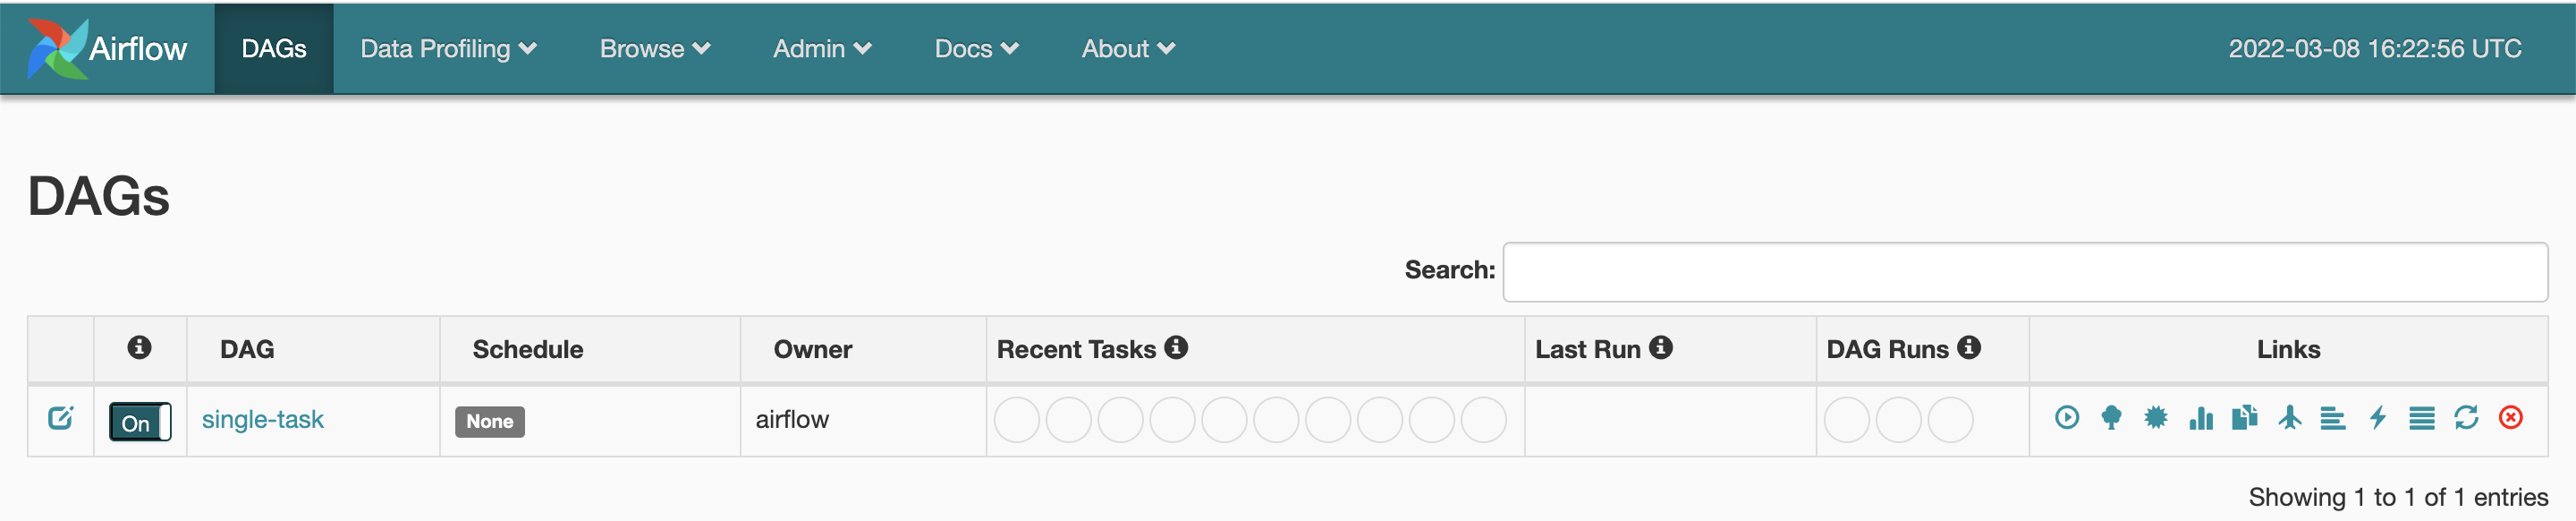
- To run the DAG, click the Play button on the right and Trigger DAG.

- Click the DAG name and get to the tree view. Click the green square to open a popup with more options.

- In the pop-up, click View log. The log shows that Airflow interacts with the Ocean Spark API to track the status of the Spark application.
A URL to Ocean Spark Application Page can also be found in the log. It brings you directly to the page of the application.

Airflow 1
- If you do not see the DAGs, restart the Airflow webserver.
docker restart test-airflow
- To run the DAG, toggle the switch on the left to On and click the Play button on the right.
- Click on the DAG name and get to the tree view. Click on the green square to open a pop-up with more options.
- If the square is not green yet, click the Refresh action button.

- In the pop-up, click View log. The log shows that Airflow interacts with the Ocean Spark API to track the status of the Spark application.
A URL to Ocean Spark Application page can also be found in the log. It brings you directly to the Application Details page.

You are now ready to schedule Spark applications on Ocean Spark using Airflow.
What's Next?
Learn more about creating and configuring a Hive Metastore.