AD FS SAML Authentication
Active Directory Federation Services (AD FS or ADFS) is one of the leading identity provider (IDP) solutions in the market. You can configure your Spot account to be authenticated using the SAML protocol using AD FS.
Prerequisites
- A Spot account and Admin permissions in the account
- A domain member Windows Server 2012R2/2016 with AD FS role installed
Step 1: Add Relying Party Trust Wizard
-
Open the Active Directory Federation Services (AD FS) Management Console.
-
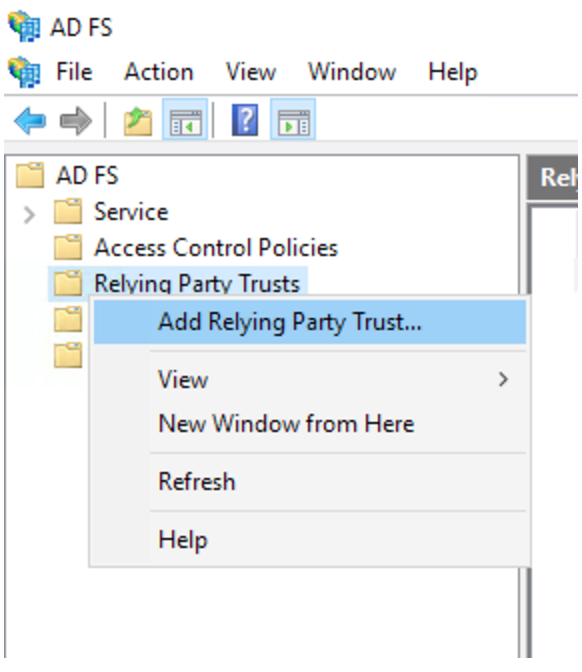
Right click Relying Party Trusts > Add Relying Party Trust.
View image
-
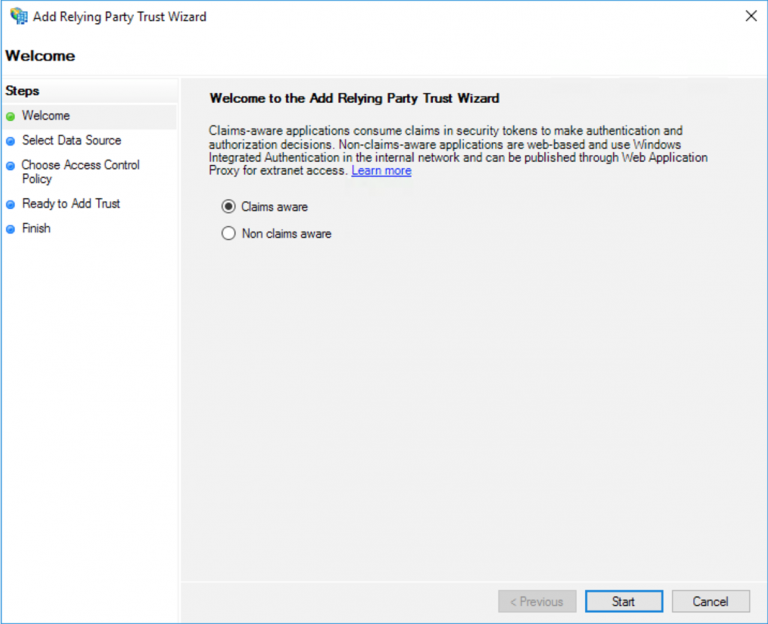
Select Claims-aware > Start.
View image
-
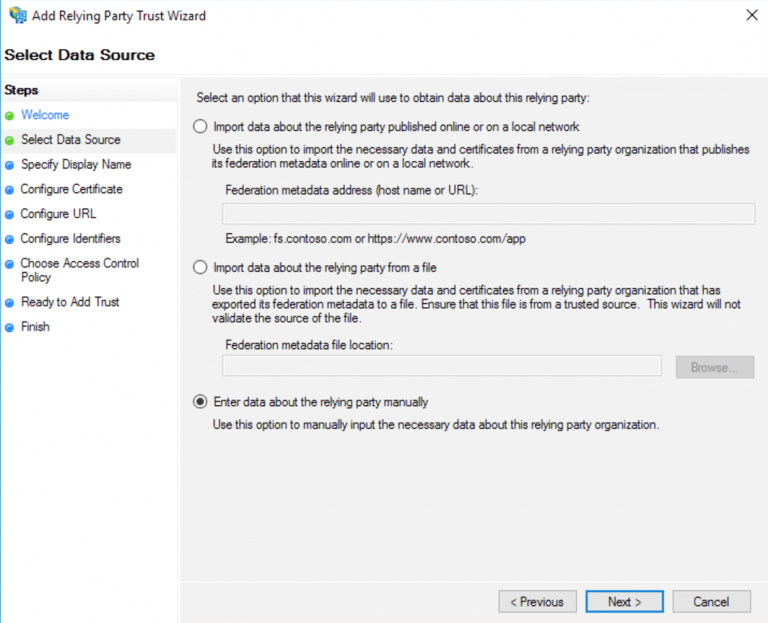
Select Enter data about the relying party manually > Next.
View image
-
Enter a Name for the RP and click Next.
-
When asked for a certificate, click Next.
-
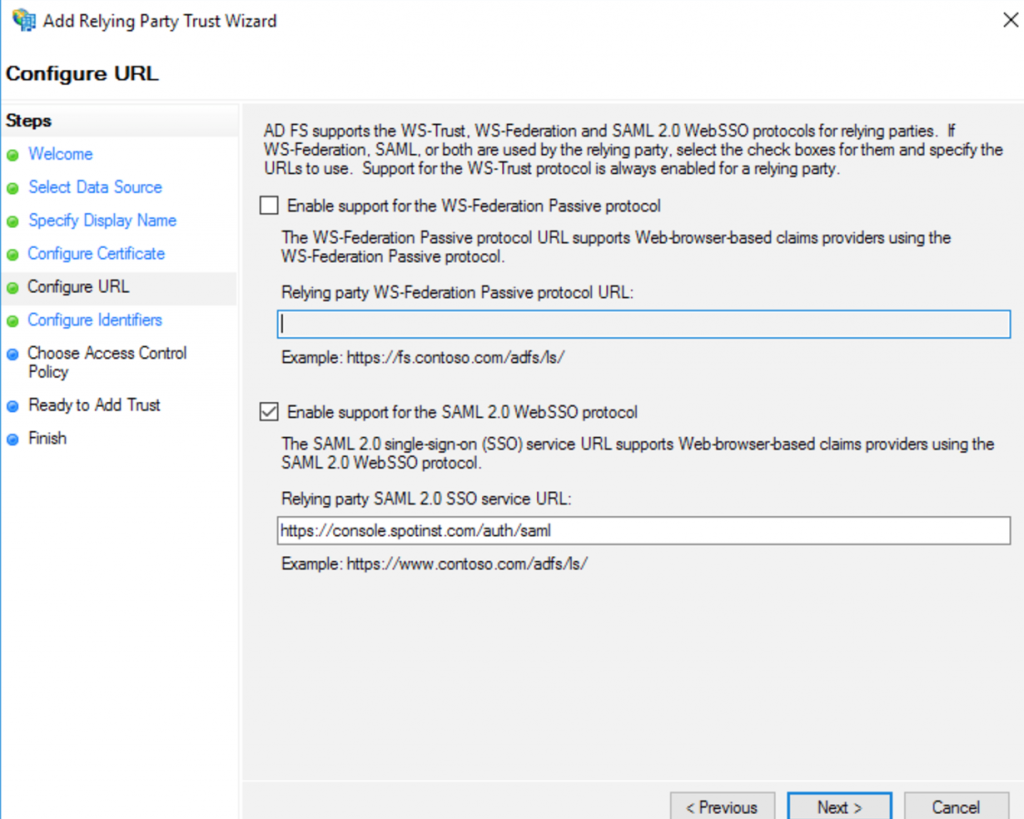
Select Enable support for the SAML 2.0 WebSSO protocol and enter the URL
https://console.spotinst.com/auth/saml.View image
-
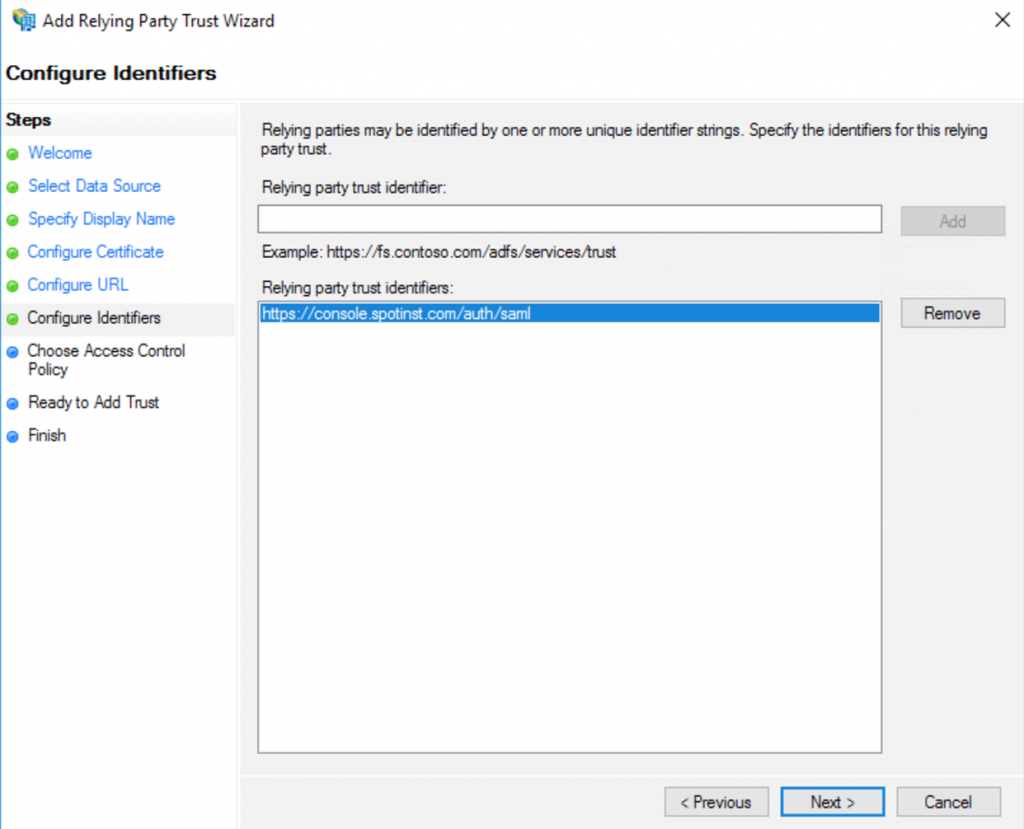
In Relying party identity (RPID), enter the URL:
https://console.spotinst.com/auth/saml.Details
View image
-
Click Next > Finish.
Configure Claim Rules
-
A new wizard will open, allowing you to configure the claim rules.
-
Click Next when prompted for Rule Type.
-
Enter a Name for the claim rule and choose Active Directory as the attribute store.
-
Enter these Attribute Mappings:
LDAP Attribute Outgoing Claim E-Mail-Address Email Given-Name FirstName Surname LastName -
Click Finish.
Step 2: Getting and Inserting the Metadata
-
Download your AD FS metadata XML file which is located in: https://
<yourADFSserver>/federationmetadata/2007-06/federationmetadata.xml -
Open the XML file for edit.
-
Locate the first
<X509Certificate>tag and its closure</X509Certificate>, and change to<ds:X509Certificate>and</ds:X509Certificate>. -
Sign in to your Spot account as an Admin.
-
In the Spot console, click the user icon
 > Settings.
 -
Click Security > Identity Providers.
-
Click Browse, select your metadata file, and click Save.
Step 3: Configure IDP Initiated SSO
To configure IDP-initiated SSO, additional settings must be configured:
-
Sign in to your Spot account as an admin.
-
In the Spot console, click the user icon
> Settings. -
Click Security > Identity Providers.
-
Copy the Relay State value.
-
Connect to your AD FS Server.
-
Open PowerShell with administrative permissions.
-
Run this command to enable IDP Initiated SSO:
Set-ADFSProperties -EnableIdPInitiatedSignonPage $true-
Windows Server 2016, run this command to enable relay state:
Set-ADFSProperties -EnableRelayStateForIDPInitiatedSignon $true -
Windows Server 2012R2:
- Open in an editor:
%systemroot%\ADFS\Microsoft.IdentityServer.Servicehost.exe.config - Go to the line:
<microsoft.identityserver.web> - Add the following line right after the
<microsoft.identityserver.web>entry:<useRelayStateForIdpInitiatedSignOn enabled="true" />
- Open in an editor:
-
-
Restart the Active Directory Federation Services service.
IDP-Initiated SSO URL
- RPID
- This value is the relying party identifier
- This value should be encoded
- Nested RelayState
- This value is passed to the relying party as RelayState
- This value should be encoded
- The URL query has two parts. The RelayState generator encodes and generates the URL based on the parameters. Insert:
- IDP URL: https://
<yourADFSserver>/adfs/ls/idpinitiatedsignon.aspx - RP URL:
<https://console.spotinst.com/auth/saml> - The relay state that you copied in step 4
- IDP URL: https://
Create a Temporary Token
When creating a temporary token, the user credentials are validated at the IDP.
-
To create a temporary token, you provide a SAML assertion generated from your IDP. Get a SAML assertion from ADFS.
-
Run the following request. Replace
'<>'with the SAML assertion response, as plain XML body (without JSON wrappers).curl -X POST -H "Content-Type: application/xml" -d
'<SAML_assertion_response_XML>' https://oauth.spotinst.io/samlToken?organizationId=<organization_id>