Migrate Existing Elastigroups to Ocean (EKS, kOps)
The following tutorial covers migration of existing Elastigroups running a Kubernetes cluster to Ocean.
- If your cluster has only one Elastigroup, refer to Use Case 1.
- If your cluster consists of multiple Elastigroups, refer to Use Case 2.
Use Case 1: A Single Elastigroup
If you have one Elastigroup that you would like to upgrade to Ocean, do the following:
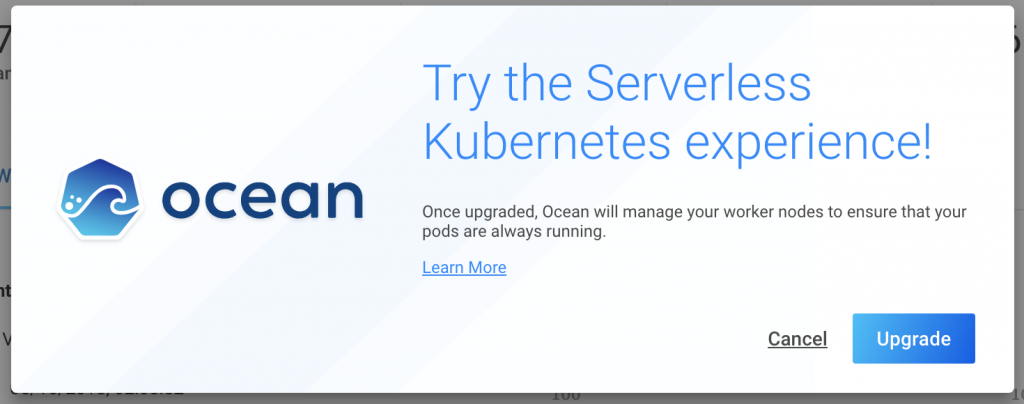
- Open the Elastigroup, and click Upgrade to Ocean on the top right.
- Click Upgrade in the pop-up window.
Wait for the confirmation message to validate that the upgrade process is complete.
For Kubernetes Elastigroups created via kOps, see the following tutorial.
Use Case 2: Multiple Elastigroups
If you have multiple Elastigroups for the same Kubernetes cluster, follow the instructions below.
Considerations
Ocean manages the entirety of the Kubernetes cluster nodes. If the nodes are distributed across multiple Elastigroups, all of these Elastigroups should be migrated at once.
Prerequisites
To complete this tutorial, gather the following information:
- List the Elastigroups connected to the target Kubernetes Cluster.
- For each of the Elastigroups, note the following data for future use:
- Autoscaler labels
- User-data script
- AMI ID
- Ensure all the Elastigroups in the cluster use the same Cluster Identifier (ID). This is used to connect the existing Ocean Controller installed on the Kubernetes cluster to Ocean.
Step 1: Create the Ocean Cluster
Choose one of your Kubernetes Elastigroups and click Upgrade to Ocean. This will be your source Elastigroup, and Ocean will take control over its management.
Step 2: Configure Ocean Custom Launch Specifications
Configure the Ocean cluster to handle all the different label sets configured on the remaining Elastigroups.
- Navigate to your Ocean cluster.
- Click Actions and select Custom Launch Specifications.
- For each of the remaining Elastigroups running worker nodes do the following:
- Click Add Specification.
- Add the Label sets gathered as part of the prerequisites.
- Set the matching User-Data and AMI.
- Click Save Changes to commit changes.
Step 3: Disable Autoscaling on the Imported Elastigroups
Disable the autoscaling in the Elastigroups that were converted to Launch Specifications to allow Ocean to take over.
For each of the groups, perform the following steps:
-
Navigate to the Elastigroup.
-
Click Actions and click Edit Configuration.
-
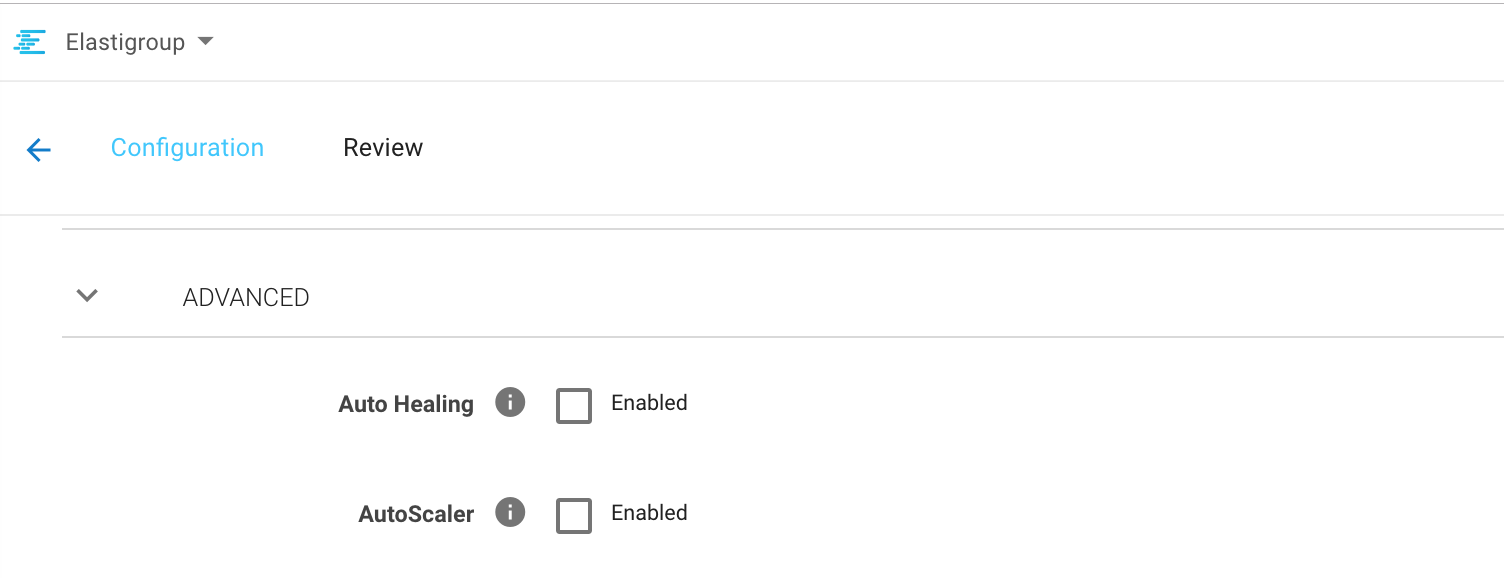
Scroll down to the Advanced section.
-
Remove the autoscaler selection.
-
Continue to the review page and click Update to commit the changes.
Step 4: Downscale Secondary Elastigroups Converted to Launch Specifications
The last step is to downscale the existing worker nodes and allow Ocean to launch the proper instances to fit the cluster needs.
- Navigate to the Elastigroups configured for your Kubernetes cluster.
- Click Actions and click Manage Capacity.
- Reduce the target capacity. It is highly recommended to reduce the target capacity in batches of 10-20% and repeat this step until downscale is complete.
- Navigate to your Ocean Cluster. Verify that it is spinning up the required resources and handles the pending pods.