Create Ocean Cluster from OpenShift (v3.11)
Ocean is a managed infrastructure service for Kubernetes that automatically adjusts infrastructure capacity and size to meet the needs of all pods, containers, and applications.
This tutorial covers the creation of an Ocean cluster using Spot.
Prerequisites
- OpenShift is installed and configured on AWS.
- At least one worker node is up and running, with a primed image and user data. See the procedures below to set up the primed image and user data.
Create Primed Image
To create the primed image, complete the Red Hat procedure.
Create User Data
To create user data, follow the Red Hat steps below. (These steps are taken from a Red Hat procedure.)
-
Create the bootstrap.kubeconfig file by generating it from a primary node.
$ ssh master "sudo oc serviceaccounts create-kubeconfig -n openshift-infra node-bootstrapper" > ~/bootstrap.kubeconfig -
Create the user-data.txt cloud-init file from the bootstrap.kubeconfig file.
$ cat <<EOF > user-data.txt
#cloud-config
write_files:
- path: /root/openshift_bootstrap/openshift_settings.yaml
  owner: 'root:root'
  permissions: '0640'
  content: |
    openshift_node_config_name: node-config-compute
- path: /etc/origin/node/bootstrap.kubeconfig
  owner: 'root:root'
  permissions: '0640'
  encoding: b64
  content: |
    $(base64 ~/bootstrap.kubeconfig | sed '2,$s/^/    /')
runcmd:
- [ ansible-playbook, /root/openshift_bootstrap/bootstrap.yml]
- [ systemctl, restart, systemd-hostnamed]
- [ systemctl, restart, NetworkManager]
- [ systemctl, enable, atomic-openshift-node]
- [ systemctl, start, atomic-openshift-node]
EOF
If you don't use an autoscaler in the OpenShift cluster yet and don't have an AWS auto-scaling group, do not create an autoscaling group.
-
Launch an instance based on the created prime image together with the user data built on the cluster and ensure all your OpenShift AWS resources are tagged with the following tag:
Key:kubernetes.io/cluster/<cluster-name> Value:<shared/owned>The tag values are:
- shared – The resource is shared with other systems.
- owned – The node belongs exclusively to the cluster.
Once the instance is up and running, a new
csrrequest will be waiting:oc get csrThis request will output all the pending CSRs.
Use the following request to approve the one that is relevant to the instance you've launched.
oc approve csr csrnameWhen the new instance with the correct user data, image, and tags is joined to the cluster, you are ready to integrate OpenShift with Ocean.
Get Started
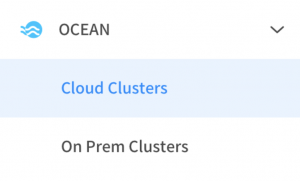
- In the side menu of the console, click Ocean/Cloud Clusters.
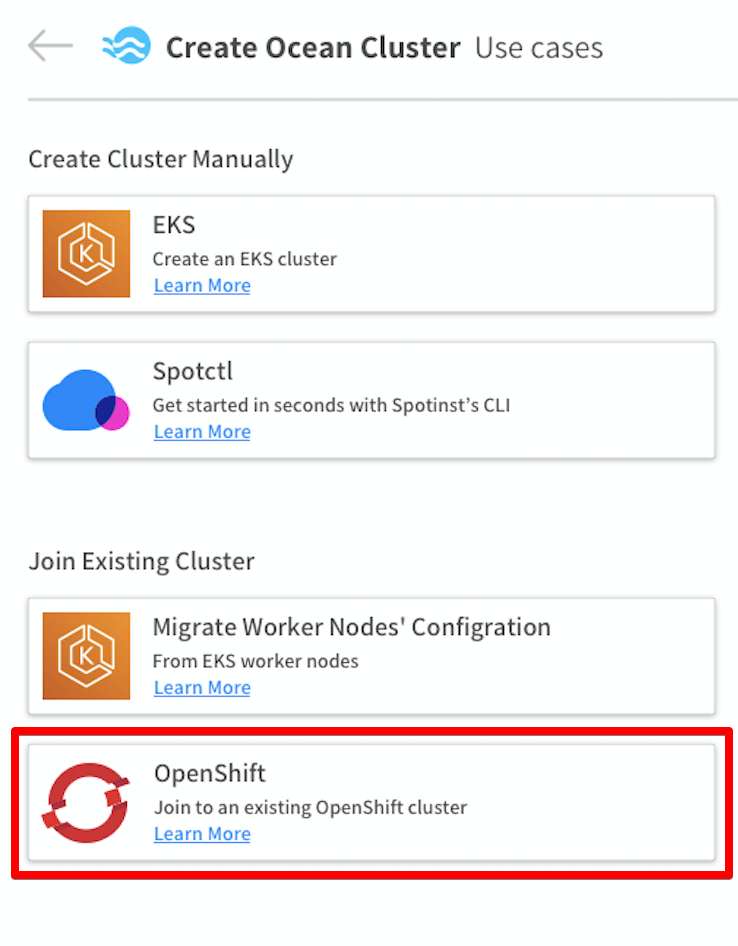
- Click Create Cluster.
- Click the use case for OpenShift,
Connect an Existing OpenShift Cluster.
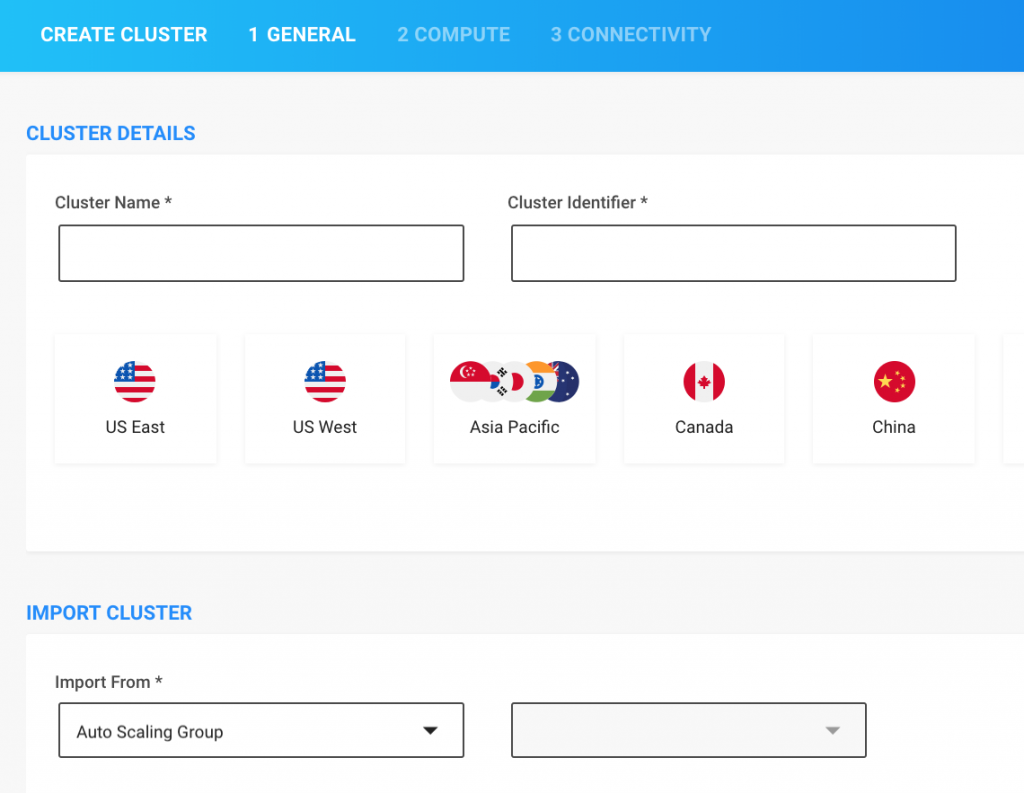
Step 1: Enter General Information
- Enter a Cluster Name and Identifier and choose a Region.
- Choose an Auto Scaling Group or worker node Instance to import the cluster configuration from.
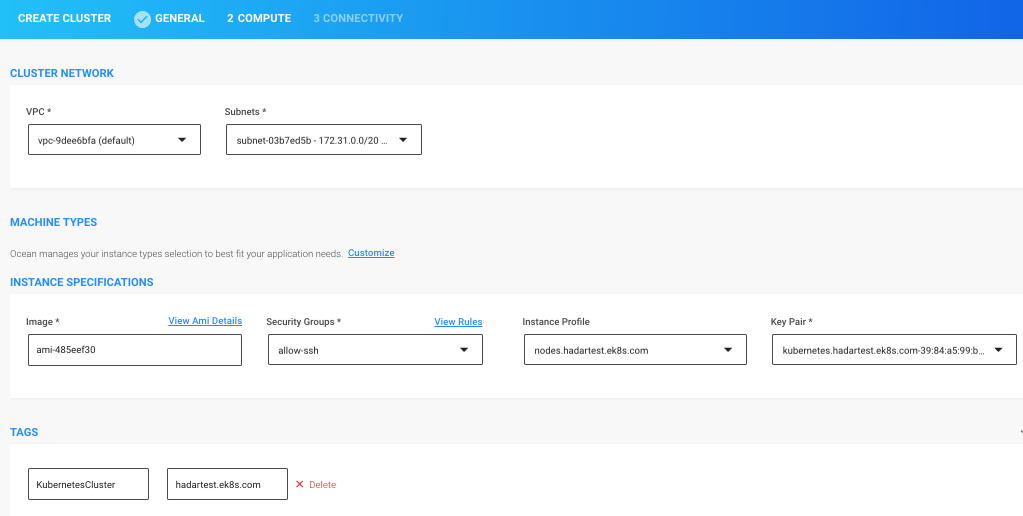
Step 2: Review Compute Settings Confirm or change the settings imported by the Ocean Creation Wizard.
Step 3: Set up Connectivity
-
Create a Spot token or use an existing one.
-
Install the Ocean Controller Pod. Learn more about the Ocean Controller Pod and Ocean's anatomy here.
-
Ensure enable-csr-approval is set to True.
-
Click Test Connectivity to ensure the controller functionality.
curl -fsSL https://spotinst-public.s3.amazonaws.com/integrations/kubernetes/cluster-controller/scripts/init.sh | \
SPOTINST_TOKEN=<ENTER YOUR TOKEN HERE> \
SPOTINST_ACCOUNT=act-54c5d1ab \
SPOTINST_CLUSTER_IDENTIFIER=open-shift \
ENABLE-CSR-APPROVAL=True \
bash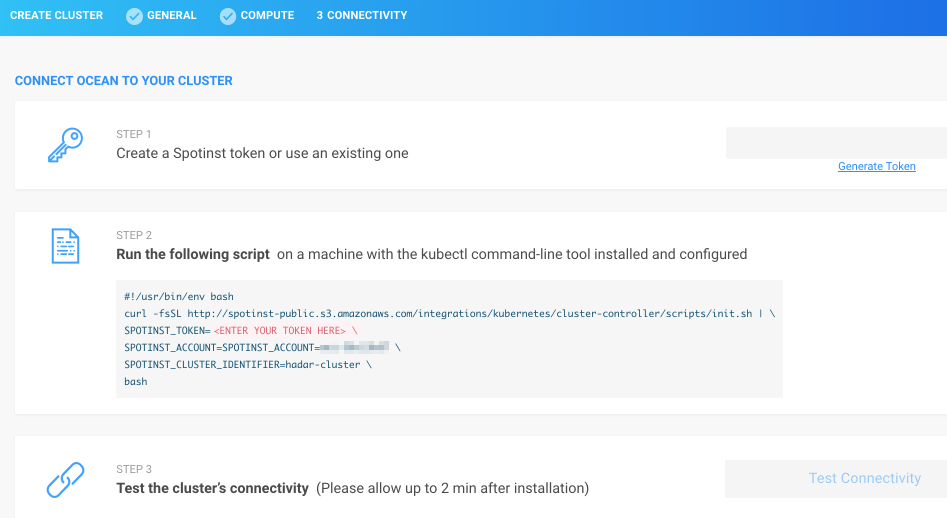
-
When the connectivity test is complete, click Create.
You're all set! Ocean will now ensure the most cost-effective capacity and size possible for your cluster.
What's Next?
Learn more about Ocean scaling and optimization features.