Create Custom Labels
This topic shows you how to use custom labels with Ocean Launch Specifications under Kubernetes.
Label Definition
Labels are key-value pairs attached to objects such as pods. They allow you to constrain pods to run only on specific nodes or express preferences for specific nodes.
Ocean supports custom label selectors, built-in node labels, and affinity/anti-affinity for pods and nodes.
Once configured, Ocean considers the constraints and launches capacity only when pods that have the predefined labels are waiting to be scheduled.
Step 1: Label the Pods
Ensure that your pods are labeled properly. See the Kubernetes documentation for more information.
Step 2: Define the Custom Labels in Ocean
-
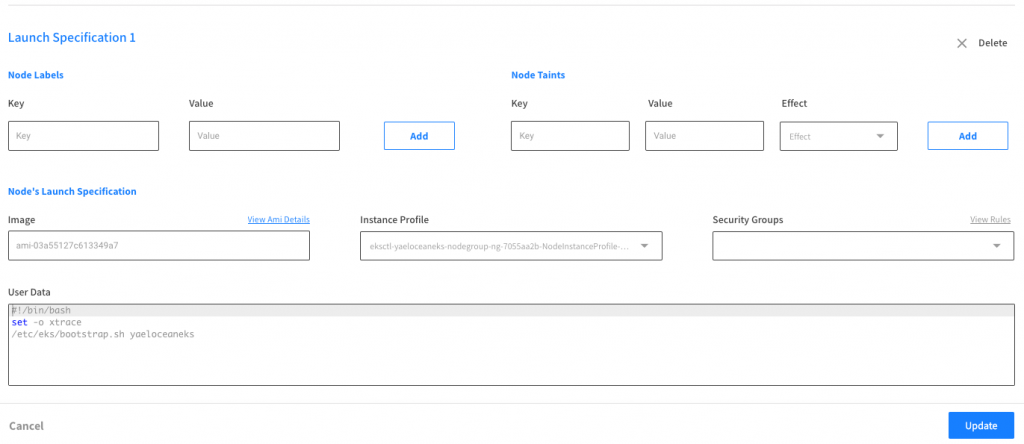
In your Ocean cluster, go to Actions and click Launch Specifications.
-
Click Add Launch Specification. This will add a new Launch Specification to your Ocean Cluster.
-
In the Launch Specification, add a key and value pair for the custom label and click Add.
Step 3: Add Labels to the Nodes
Add Labels to EKS
Add labels to the nodes by using the user data:
--kubelet-extra-args --node-labels=mykey=myvalue,mykey2=myvalue2
For example:
#!/bin/bash
set -o xtrace
/etc/eks/bootstrap.sh Ocean_Cluster --kubelet-extra-args --node-labels=mykey=myvalue,mykey2=myvalue2
For all of the above, new nodes will be launched with new labels.
Add Labels to kOps Clusters
These are clusters that were created by kOps natively.
-
Recognize the IG name you originally created (
nodesin the following example): -
Run
kops edit ig nodesand add the relevant label.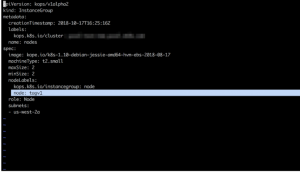
-
Run
kops update cluster.