Connect Azure Subscription to Spot
This procedure covers authenticating your Spot account with Azure, which gives Spot the necessary permissions to launch and manage Azure resources on your behalf.
Prerequisites
- An activated Azure subscription
- A registered Spot account
Step 1: Create an Active Directory Application
-
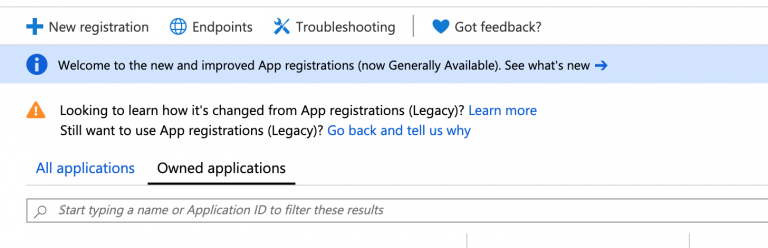
Log in to your Azure console and go to Azure's Active Directory service.
-
In Azure's Active Directory service click on App registrations.
-
Click New Registration.
-
Give the application a name and add
https://spot.ioas the redirect URI.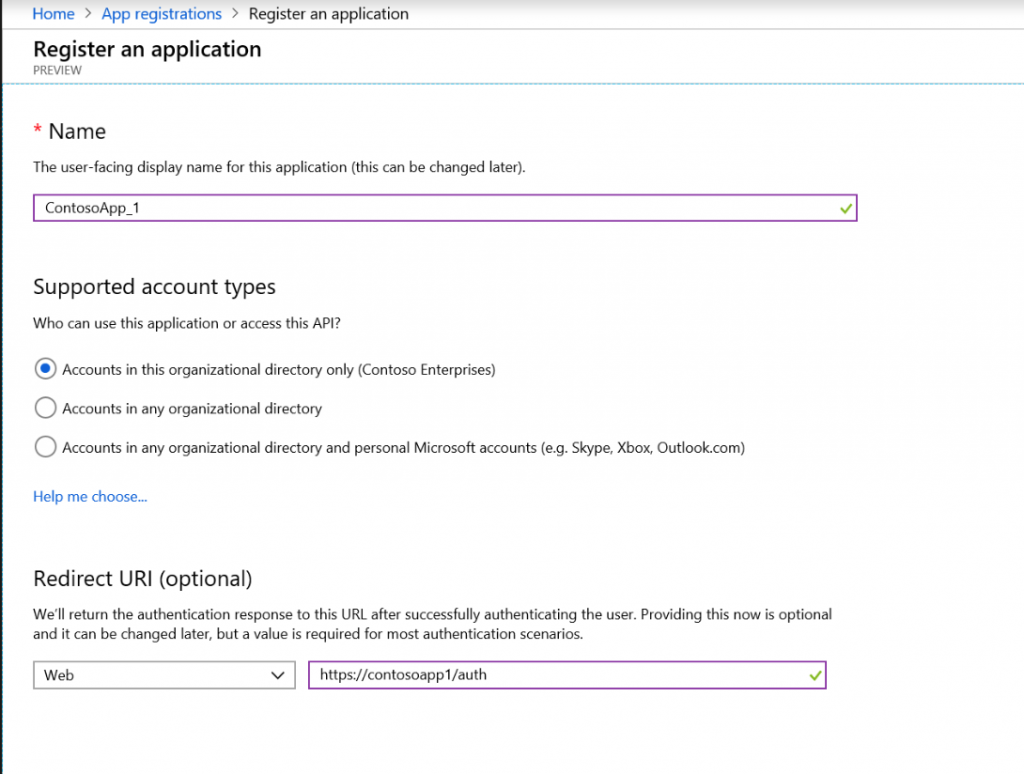
-
Once your application is ready, copy the Application ID and save it.
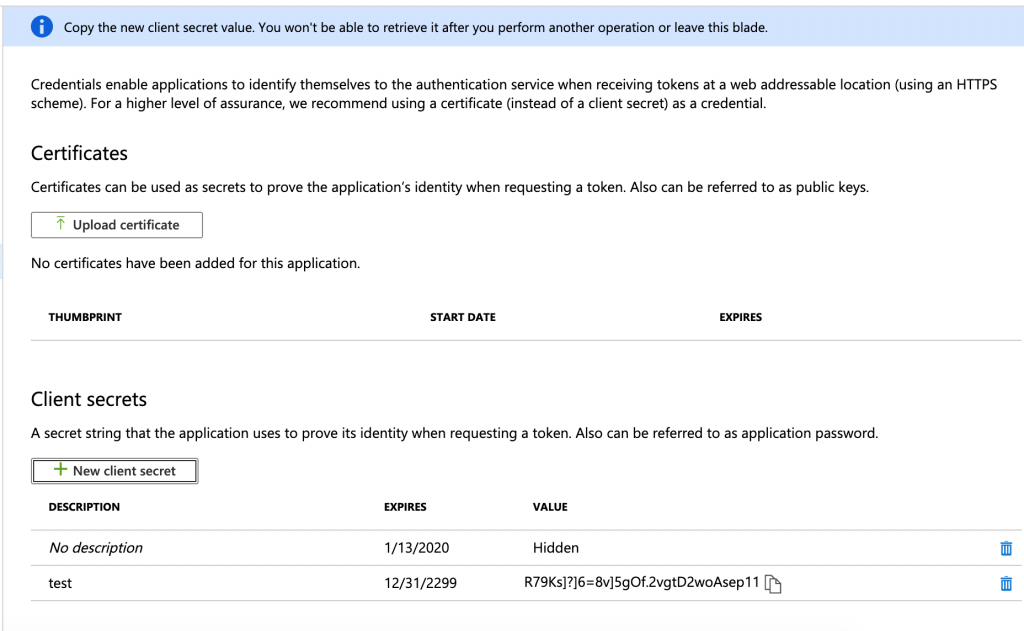
Step 2: Create a Key for the Application
-
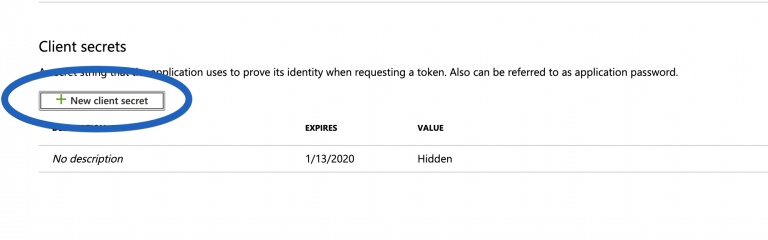
Inside the created app registration, click Certificates & Secrets.
-
Create a new client secret.
-
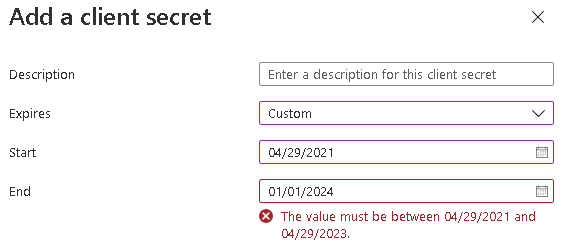
Enter a brief description of the secret and define a validity period that includes a start date and end date:
-
Make sure to copy the Secret Key and save it. It won't appear again after you leave the Key settings.
Step 3: Retrieve Your Directory ID
Under your Active Directory's main menu, go to Properties, copy the Directory ID (Tenant ID), and save it.

Step 4: Enter your Information in the Spot Console
- Go to the Spot console, select the desired account, and select Azure as your cloud provider.
- Paste your Application ID (from Step 1), Directory ID (from Step 3), Application Key (from step 2), and your Subscription ID into their respective fields.
- Select View and Copy Policy, and Copy Policy to clipboard.
Step 5: Provide Permissions to the Active Directory Application
Now that you have created an Active Directory Application, you will create a custom role and attach it to the application.
-
Create a Custom Role
- Under All Services, select Subscriptions. Choose the subscription you would Spot to access.
- In the Subscription menu, select Access Control (IAM).
- Click Roles, Add, and Add Custom Role.
- Select JSON.
- Copy and paste the Policy from Step 4. Spot Policy in Azure
- Review and click Create.
-
Attach the Role
- Click Role Assignments, Add, and Add Role Assignment.
- Enter the custom role created above.
- Enter and select the application created in Step 1.
If your application does not appear in the Select autocomplete list, enter the application name there.
Step 6: Validate in Spot Console
Click connect to validate your connection and save it.